Need some hairspiration? For those of you with long hair, it’s time to get creative. Here are 16 hairstyles to try – we’ll start off with some easier ones before getting more complex. Don’t forget to have your Herstyler styling tools nearby to give your look a professional finish!
High Ponytail with Curls

This is a very simple yet elegant hairstyle. Whether your hair is naturally curly or not, this hairstyle is perfect for long hair and so easy to do.
- Brush your hair so that there are no knots
- Add a heat protection spray to your hair
- Separate your hair into sections
- Take the lower section and take about an inch of hair
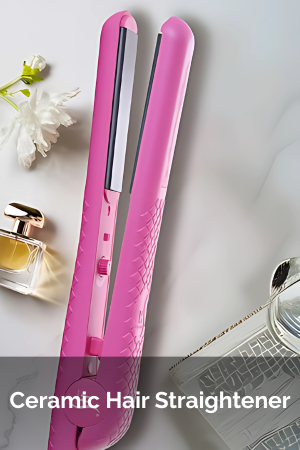
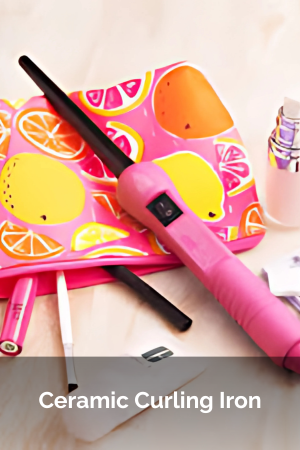
- Wrap your hair around your favorite Herstyler curling iron and hold in place for around 10 seconds
- Repeat until all hair is curled
- Then, tie your hair into a ponytail – you can either use a hair tie or a clip
Half-Up Ponytail
A half-up ponytail is very simple and quick to do. Whether you have naturally curly or wavy hair or if it’s straight, this hairstyle looks good on all long hair types.
- Start by brushing your hair to make it tangle-free
- Separate the hair from the top of the ears across the back of the head. Hold it in place with your hand
- Brush the remaining hair downwards
- Tie the top section up into a high ponytail
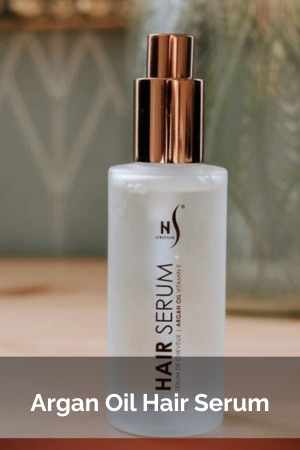
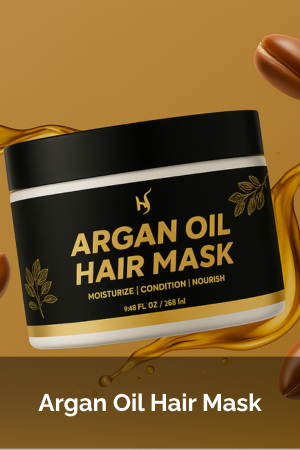
- Apply the Herstyler Argan Oil Hair Serum to the bottom half to give it some extra gloss
Braided Pigtails
Braided pigtails are a very basic hairstyle. They’re easy to do and they look great for just about any occasion.
- Create a center-parting all the way to the bottom of the head
- Tie off one side
- With the other side, split into three even sections
- Take the inner section and put it under the middle section, then do the same with the outer section
- Keep doing this until you have reached the end
- Secure the end
- Repeat with the other side
Check out this HerStyler article for more creative braid ideas!
Ringlets

Ringlets look good down or as part of another hairstyle, like half-up. There are so many ways to get ringlets – your HerStyler curling iron will give you the fastest results, or you could also try this overnight method:
- Start by putting a headband on
- Dampen your hair, but don’t soak it
- Apply a small amount of the HerStyler Castor Oil Hair Serum
- Start at one side and take a two to three inch strand of hair and wrap it over then under the headband
- Then take another strand and do the same, but include the last section too
- Keep going until you reach the back of your head
- Do the same with the other side
- Once you reach the back with both sides, use bobby pins to keep it at the back under the headband
- In the morning, take the pins out and take off the headband – you will have a head full of ringlets
- Secure your new look into place by giving your hair a spritz of the HerStyler Perfect Hold Hair Spray
Basic Braid
A basic braid is an easy way to start getting more creative with your hair and it is so simple to do.
- First brush your hair so that it is tangle-free
- Then, at the back of your neck, split your hair into three equal sections
- Cross the right section over the middle section
- Cross the left section over the new middle section
- Keep repeating this pattern until your hair is fully braided
- Tie it off at the bottom
The good thing about braids is that you can even tie them off with a bit of ribbon. This makes them perfect for the holidays, although you’ll find even more holiday-inspired braid ideas here.
Basic Braid Crown
Basic braid crowns look hard to get right but they’re actually quite simple.
- Split your hair into a center part and apply some of the HerStyler Argan Oil Hair Serum
- Separate the two sides and tie one side up so they don’t get mixed up
- Start at the back of the neck and separate the hair into three sections – you may want to use a clip on each to help.
- Cross the braids underneath each other, not over the top. Work your way around the side of your head, keeping it tight to avoid a loose crown
- Keep going over the forehead, then tie the braid with an elastic hair tie to keep the braid in place. You can also use clips to keep it in place while you work on the other side
- With the other side, start at the top of the head and do the same braid going underneath, until you reach the back of the neck
- Again, tie it with an elastic hair tie
- Take the braid from left to right, over the top of the head. The end should be a few inches away from the forehead. Secure the braid with bobby pins.
- Pull the other braid from right to left, pushing it up against the other braid. Secure this braid with bobby pins.
Now you should have a hairstyle that looks like a crown.
Flower Braid
The flower braid is a simple yet elegant hairstyle and it is very easy to do.
- Twist two small sections of hair from either side of your head into a small ponytail, then tie it with a clear elastic tie
- Braid your small ponytail and tie with a clear elastic tie. If it’s too thin, you can add more hair from where your ponytail rests
- Take your braid and twist it around in a circle. To make the outer edges fuller, you can try putting the top of your braid to the outside.
- Secure your braid in place with bobby pins
Box Braid

The box braid is a full head braid that takes a lot of time to do. But, once it’s done, it can stay in for a while as this is a more permanent braid
- Wash your hair and really concentrate on the conditioner (it’s very important for a permanent braid)
- Apply a hair serum, such as the HerStyler Marula Hair Nourishing Serum
- Now, take your dry hair and separate it into four sections. To keep the hair separated use elastic hair ties
- Now it’s time to braid. Take a pinch of hair from one section and split it into three sections
- Cross the right section underneath the middle section, then the left section underneath the new middle section
- Keep going until you are at the bottom of the braid and then tie with a small rubber band
- Keep going until you finish the section, keeping all braids equal
- Once you finish this section move on to the next section until all sections are finished with little braids
This should leave you with around one hundred tiny braids, depending on the thickness of your hair.
Fishtail Braid
A fishtail braid is a very easy way to tie all of your hair up, but with a bit of a difference. It’s not a simple braid and looks great for all occasions.
- Start by applying some of the HerStyler Marula Hair Nourishing Serum to give your hair some extra hold
- Separate your hair into two sections
- Take a thin strand of hair (half an inch) from the outside of the left section and tuck it under the right section (so that it’s now a part of the right section)
- Do the same at the right side and tuck it under the left section
- Keep going, taking slightly less as you go lower to make it more even. Remember to keep it tight.
- Once you reach about an inch from the bottom tie it off with an elastic hair tie.
French Braid
A French braid is like an upgraded basic braid, yet it’s simple to do.
- Start by separating your hair into three sections; left, right and center
- Tie the right and center sections for just now
- Take the left section and separate it into three sections
- Now, put the right section over the middle section and then put the left section over the new middle section.
- Keep going until you are at the bottom of the hair and then tie it off with an elastic hair tie
- Repeat this with the right and center sections
- Now you have three little braids
- Take the right braid and put it over the center braid then take the left braid and put it over the new center braid
- Keep going until you are at the bottom again and tie off with an elastic hair tie
Braided Bun
The braided bun is a quick easy hairstyle that looks amazing.
- Start with a high ponytail
- Split the hair into three sections and cross the right section over the middle, then do the same with the left side over the new middle
- Repeat until the braid is complete and then tie the end with an elastic tie
- Wrap the braid around at the top of the braid until it is a bun shape
- Secure the bun in place with bobby pins
Ponytail

The humble ponytail is a very common hairstyle because of its quick, easy simplicity.
- Brush all of your hair to the back of your head
- Tie it up with a hair tie, clip, or something similar that you prefer
- Leave to hang freely
Did you know: the ponytail gets its name from its resemblance to the tail of a pony?
Bubble Ponytail
The bubble ponytail is very similar to the ponytail, but with a bubble effect.
- Start off by brushing your hair back into a ponytail
- Every two inches, add an elastic tie
- Continue until the end of the ponytail
- Pinch and pull the sections of hair between the elastic hair ties until you reach the desired bubble size.
Twisted Bun
If you want a different hairstyle but are not sure what to go for, why not try this twisted bun? It’s different, easy to do, and looks great. It’s perfect for lounging around the house or for going out.
- Start by separating your hair from the top of your ears across the top of your head. Then, clip it up out the way
- Tie the rest of your hair into a low ponytail using an elastic hair tie
- Twist it around to form a bun, then pin it in place using bobby pins. Don’t worry if it’s not perfect
- Unclip the top section of hair, then part your it. It’s up to you if you choose a side or center part
- Take the top right section and twist it, then wrap it around the bottom of the bun and pin it in place with bobby pins
- Take the left section and split it into two separate sections
- Take one section and twist it over the top of the bun and secure again with bobby pins
- If you’re happy with your hair, then twist the last section around the bun and hold it in place with bobby pins
Double Bun
Double buns keep your hair tied up out the way and also look good. They’re easy to do and all you need is a comb for teasing, two elastic hair ties, and bobby pins
- Start by brushing your hair and separating it into two sections
- Tie both sections into high pigtails
- Take one section and tease the hair (back-comb) then wrap it around into a bun and secure with bobby pins
- Do the same with the other side
French Twist
The French twist is a beautiful classic hairstyle still used at proms and weddings. It can also be created looser for everyday activities.
- Sweep all of your hair to one side and hold it with your hand
- Use bobby pins to hold it in place. You can create crisscrosses vertically up the back of the head to keep it secure
- Apply hairspray all over to keep it in place and avoid stray hairs
- Put a hand underneath your hair and brush it gently to the side to avoid disrupting the bobby pins
- Twist in the opposite direction than you swept it. Then, tuck the ends into the tunnel created by the twist
- Insert bobby pins to hold it in place. Make sure to place the pins so that they are hidden under the twist
Hopefully, after all of these ideas, you’re feeling truly inspired! So, grab your brush, a few hair ties, and your favorite HerStyler curling iron, and then spend some time getting creative!

