There’s nothing quite like a bouncy blowout when it comes to adding some volume and glamor to your hair. However, in order to maintain that look, you’ll need to visit your salon at least once a week…unless you know the secrets behind creating a flawless blowout yourself at home!
The good news is that this is far simpler than it may initially seem. Keep reading as HerStyler shares 7 essential steps for a perfect, salon-worthy blowout. With a little bit of practice, you’ll be able to keep your locks looking professionally styled, day in and day out!
Step 1: Prep Your Hair in the Shower
 A flawless blowout involves some prep work, and this starts in the shower. If you want your hair to look shiny and healthy, it needs to be clean, so begin with a shampoo. With that said, pick your shampoo wisely. You don’t want a formula that’s going to strip your hair of all of its natural oils since these contribute to how glossy your hair is. Instead, try to find a sulfate-free shampoo that contains hydrating ingredients.
Next, it’s time to condition your locks. The conditioner that you choose will have a big influence on how sleek your blowout looks. Pick a formula that caters to your hair type and its needs. For example, if your hair is dry and needs a moisture boost, the HerStyler Argan Oil & Biotin Conditioner will provide just that. On the other hand, if your hair ends up greasy very quickly, the HerStyler Rosehip & Sage Conditioner will help with that while also minimizing the appearance of split ends.
When conditioning your mane, avoid applying the product to your roots. This will only weigh them down, making it harder to achieve that gorgeous lift that blowouts are loved for. Instead, concentrate the conditioner on the mid-lengths to the ends of your hair, allowing it to soak in for a few minutes before rinsing it off. Of course, if you need to de-tangle, do that first, while your conditioner is sitting on your strands. This extra lubrication, combined with a de-tangling brush, will make it so easy to get rid of any knots.
Step 2: Towel-Dry Your Locks
Once you step out of the shower, your hair will be soaking wet. You’ll need to eliminate some of that excess moisture with a towel. However, rather than reaching for a regular terrycloth towel, use a microfiber towel instead. Why? Because they’re known for being highly absorbent. This speeds up the time it takes to dry hair.
When using a microfiber towel, you’ll need to alter your technique slightly. Rather than roughly rubbing the towel through your strands, dab at your wet locks instead to soak up excess moisture. You can also use your towel to gently squeeze water out, wringing your hair to release all of that moisture. It’s important to remember that wet hair is extremely fragile, which is why a gentle touch is a must! Treat your locks roughly at this stage and your blowout will only end up looking frizzy and unkempt.
Step 3: Apply a Heat Protectant
 While blow-drying your hair isn’t quite as damaging as using heated styling tools, it still involves exposing your hair to high levels of heat. As a result, heat damage can still occur. This is the last thing that you want as it will interfere with how soft and bouncy your blowout looks.
This is why applying a heat protectant should be your next step. These products are fantastic for preventing the appearance of heat damage. They form a light coating over the surface of each strand of hair so that the product receives the brunt of the heat, rather than your hair itself. Any burning that occurs will affect your heat protectant instead of your hair.
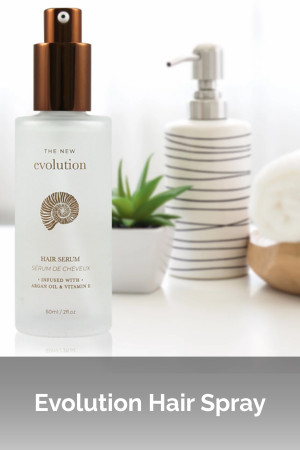
Just like when choosing your shampoo and conditioner, keep your hair type in mind when selecting a heat protectant. If your hair is thin and oily, a lightweight spray would be best. Meanwhile, for dry hair, a cream-based heat protectant will help to add some extra moisture too. Hair serums, on the other hand, work well for all hair types. Go with a formula like the HerStyler VitaOil Biotin Hair Serum and your hair will look even silkier once you’re done with your blowout!
Step 4: Pre-Dry Your Hair
Some people may think that this step is a bit counterintuitive. After all, if you’re going to be using a blow dryer to create your blowout, why do you need to first pre-dry your hair?
Once again, this comes down to preventing heat damage. Try to create a meticulous blowout with soaking wet strands and the job will take much longer. This means that your hair will be exposed to the heat from your blow dryer for a longer period of time. On the other hand, if your hair is already 70% dry before you reach for your blow dryer, you’ll be able to complete your blowout so much faster.
How should you pre-dry your hair? Ideally, by giving it some time to air dry. If you’re in a hurry, you could also pre-dry your hair with a blow dryer, but using the lowest heat setting.
Step 5: Divide Your Hair Into Sections
Once your hair is about 70% dry, it’s time to get ready for your blowout. This means dividing your hair into sections. This will make your hair much easier to work with, enabling you to really fine-tune your finished look.
How should you section your hair? There are a few different ways to do this. However, the most popular is to divide your hair into four sections. One should be up at your crown, two should be at either side of your head, and the final one should be at the back of your head.
Ideally, use sectioning clips to do this. While bobby pins and other accessories may be just as capable of holding your hair up in sections, sectioning clips are much easier to use and won’t leave any unsightly indentations in your hair once you remove them.
Step 6: The Blowout
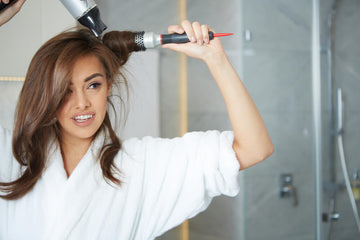
 You’re now ready to create your flawless blowout! For this, you’ll need two tools; a high-quality blow dryer and a hairbrush. The more powerful the motor of your blow dryer, the faster you’ll get the job done. When it comes to the brush, a round brush will give you lots of bounce and volume whereas a paddle brush will leave you with a sleeker and straighter blowout.
The best place to begin is with the section of hair at the crown of your head. Roll your hair around your brush, starting from as close to your roots as possible. Then, with your blow dryer nozzle pointing downward, hold your brush and the hair that’s wrapped around it under the heat for a few seconds. Slowly pull the brush through your hair, following along with your blow dryer as you do so. Once you reach the end, wrap that section of hair back around your brush and work your way back up to your roots.
Repeat that technique on each section of your hair until your hair is dry. Then, give it a blast of cold air, a feature that most blow dryers offer. This will help to encourage your hair cuticles to lie flat, giving your blowout a smoother and sleeker finish.
Step 7: Use a Finishing Product
 The final step to a flawless blowout is to lock all of your hard work in with a finishing product. Ideally, the product you choose should also be designed to add some extra shine, but you don’t want anything heavy that’s going to weigh your hair down and detract from that bounce.
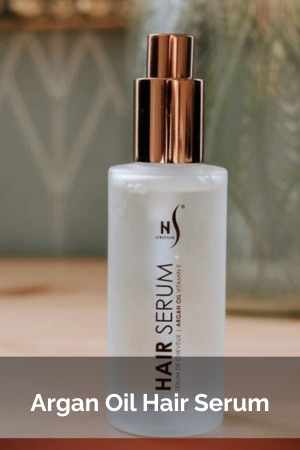
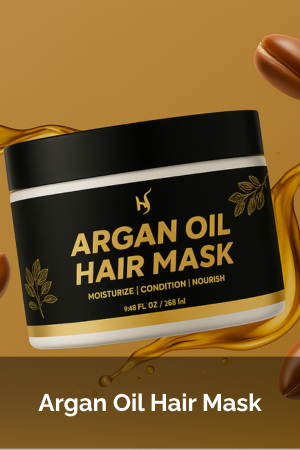
Again, this means keeping your hair type in mind when picking a product. Dry hair would appreciate a finishing cream whereas oily hair is usually more suitable to a spray. A hair serum can also be used, with this working well on all hair types. Hair serums, just like the HerStyler Argan Oil Hair Serum, tend to also be loaded with hair-loving nutrients – an added bonus!
Maintaining Your Blowout for as Long as Possible
 Now that you’ve spent so much time creating the perfect blowout, you’ll want it to last for as long as possible! With some extra effort, you’ll be able to maintain your blowout for several days.
How? Start by ensuring that your hair is protected while you sleep. Silk or satin pillowcases can really help with this by reducing the amount of friction that’s created when your hair moves against your pillow. It will help to keep your blowout in shape while preventing it from turning frizzy. Wrapping your hair in a silk or satin scarf before you sleep can have the same effect. Alternatively, consider tying your hair back at night in a loose ponytail.
Moisture is something else that can quickly ruin a blowout. This means keeping your hair sheltered from the rain, so make sure that you always have an umbrella to hand! When you’re showering, use a shower cap to prevent any water from splashing onto your locks. This will also help to shield your blowout from the steam and humidity – both of which add moisture and contribute to frizz.
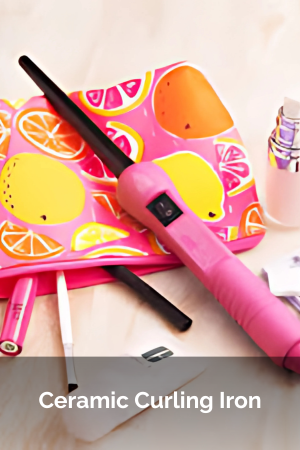
If your blowout starts to look flat after a few days, there’s nothing wrong with touching it up with a curling wand. Set your curling wand to its lowest heat setting and wrap the ends of your hair around it to give any limp strands a fresh bounce.
Summary
If you’ve never attempted a DIY blowout before, the thought may seem a little intimidating. However, break the process down into the seven steps that we’ve shared above and it will suddenly seem much more doable! Sure, at first, it may take a bit of time to perfect your technique but, with a little practice, it won’t be long before you’re creating beautiful, salon-worthy blowouts!
Click here to shop for more bestselling hair care products and styling tools from HerStyler.


